오늘 공부해 볼 iOS의 UIKit은 UITableView이다.
UITableView는 보통 리스트를 나타내는 기능을 수행한다.
아래와 같은 화면은 많이 보았을 것 이다. 스크롤로 이루어진 뷰에 콘텐츠를 표시하며 보통 연락처, 설정 화면을 구성하는데 쓰인다.

0. 프로젝트 생성
우선 xcode에서 swift, storyboard기반 iOS application 프로젝트를 생성한다.
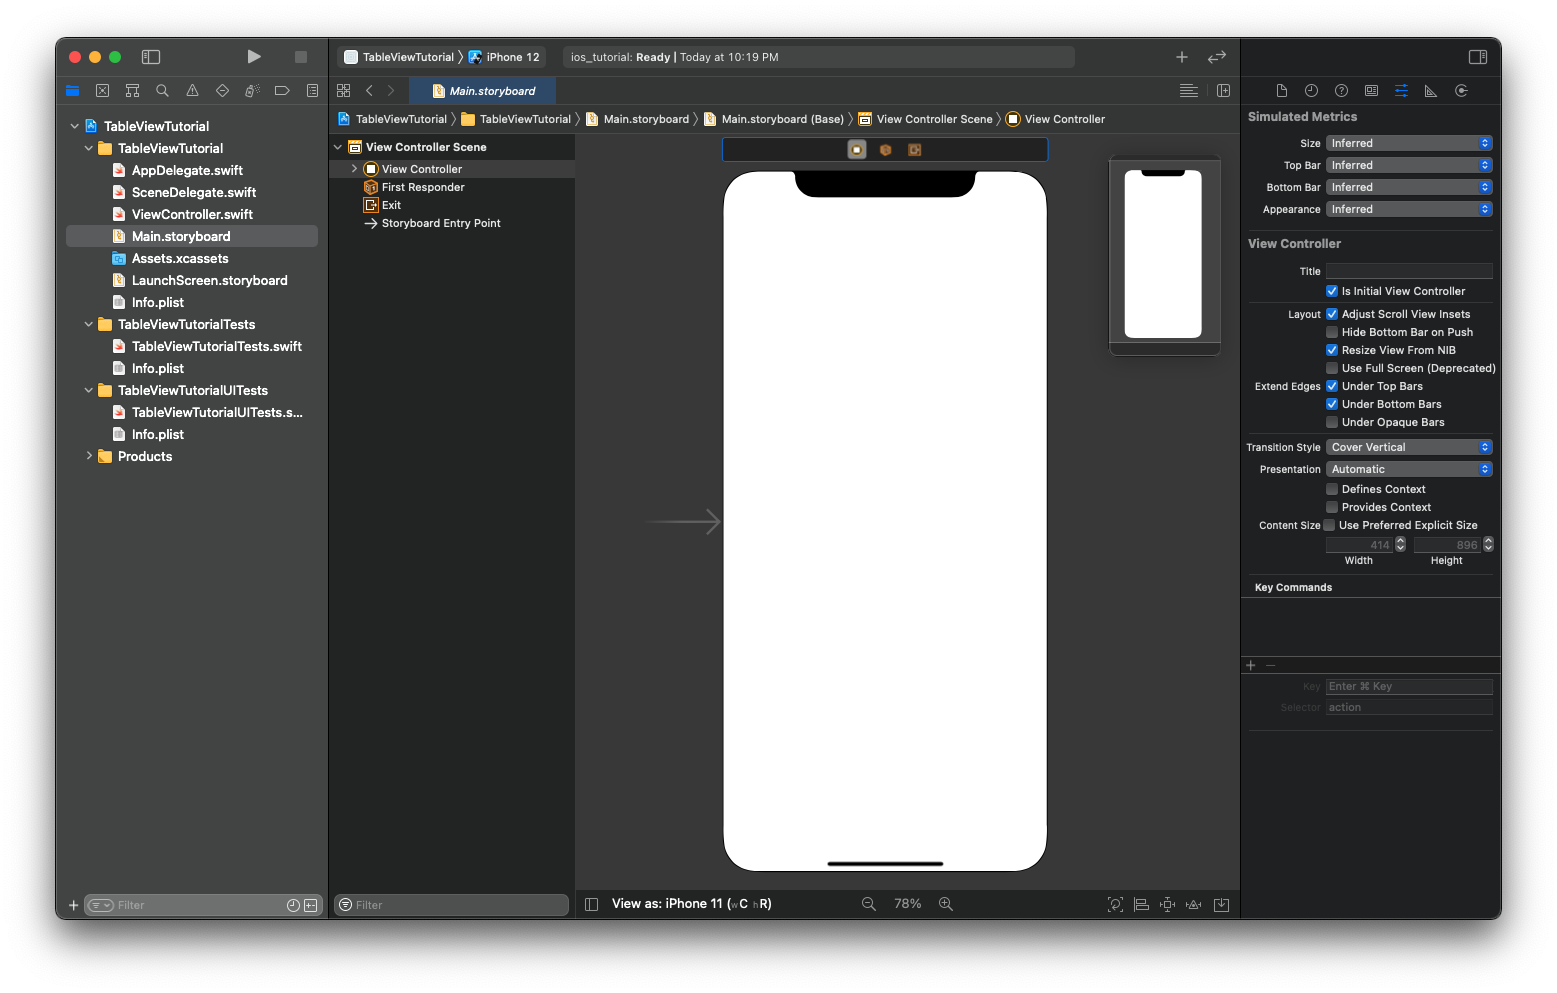
1. UITableView 추가 & TableView Cell 추가
다음과 같이 Table View를 찾아 ViewController에 추가해준다.


그다음 Table View Cell을 TableView에 추가해주자.
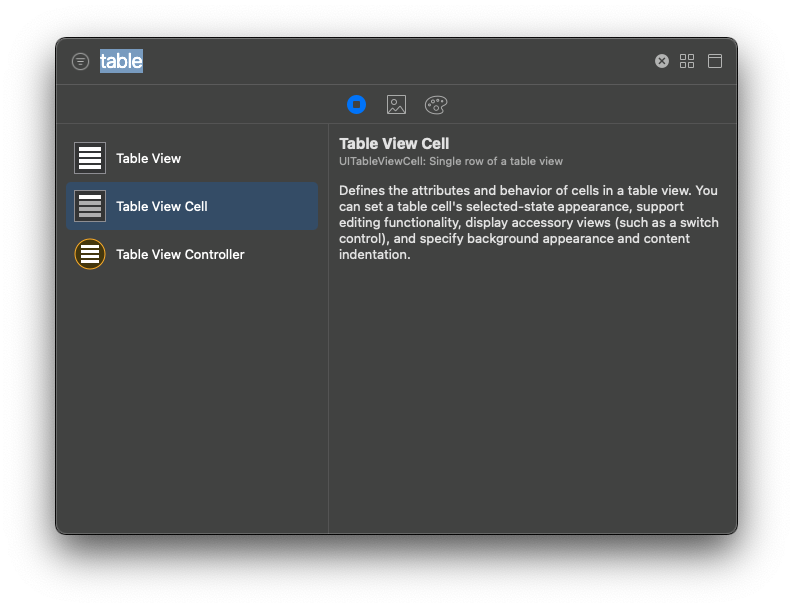
그리고 추가한 Cell에 Identifier를 설정해준다. "MyCell"

2. ViewController에 Outlet 추가하기
ViewController 소스에 추가한 테이블 뷰의 Outlet을 추가해준다.
class ViewController: UIViewController {


    @IBOutlet weak var myTableView: UITableView!
    override func viewDidLoad() {
        super.viewDidLoad()

    }

}
3. UITableViewDataSource, UITableViewDelegate 추가
ViewController 클래스에 다음과같이 delegate를 추가해준다.
class ViewController: UIViewController,UITableViewDelegate, UITableViewDataSource {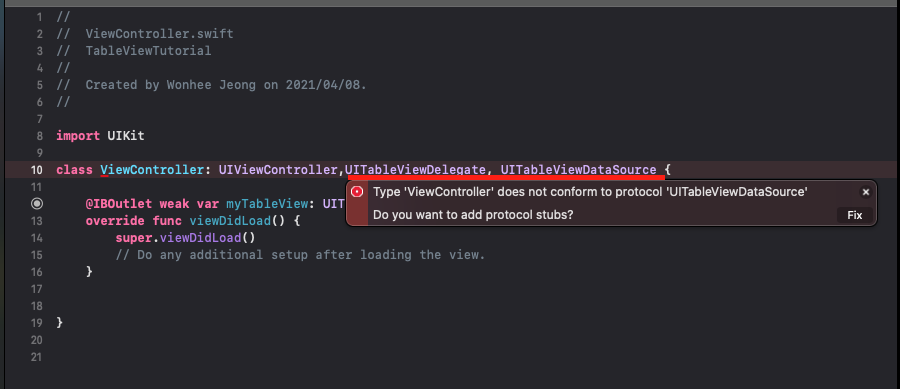
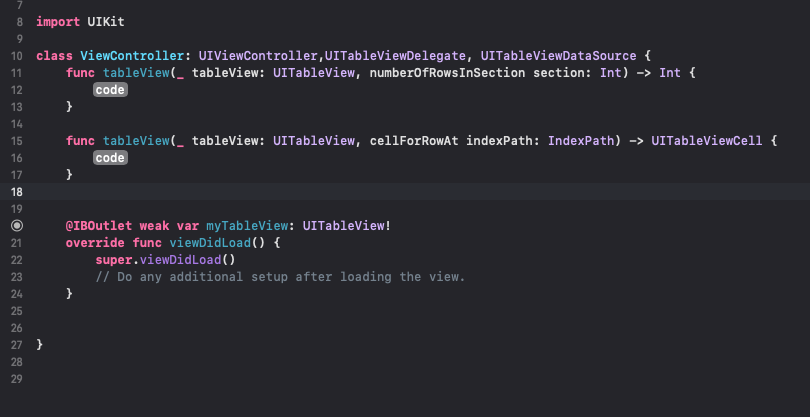
이때 에러가 발생하는데 protocol이 맞지 않는다고 뜬다. fix버튼을 누르면 Protocol stub를 추가할 수 있다.
다음 delegate를 TableView에 지정하기위해 viewDidLoad 함수에 다음과 같이 추가해준다.
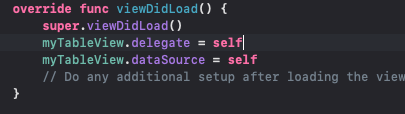
    override func viewDidLoad() {
        super.viewDidLoad()
        myTableView.delegate = self
        myTableView.dataSource = self
        // Do any additional setup after loading the view.
    }
4. 데이터 추가해주기 & Cell Identifier 추가해주기
TableView에 출력될 데이터들을 정의해 줘야 한다. ViewContoller 클래스에 다음과 같이 데이터를 Array로 추가해보자.
그리고 셀의 Identifier를 추가해주자.

5. func tableView(_ tableView: UITableView, numberOfRowsInSection section: Int) -> Int 구현하기
func tableView(_ tableView: UITableView, numberOfRowsInSection section: Int) -> Int 함수는 하나의 섹션에 들어있는 데이터의 갯수를 리턴해주는 함수이다.
myData의 아이템 갯수는 4개이므로 return 4를 해주면 되겠으나 데이터는 가변적일 수 있으므로 myData.count 를 이용하여 array의 갯수를 리턴해주자.
 func tableView(_ tableView: UITableView, numberOfRowsInSection section: Int) -> Int {
        return myData.count
    }
6. func tableView(_ tableView: UITableView, cellForRowAt indexPath: IndexPath) -> UITableViewCell 구현하기
func tableView(_ tableView: UITableView, cellForRowAt indexPath: IndexPath) -> UITableViewCell 함수는 Table의 Cell을 리턴한다. 이때 dequeueReusableCell라는 함수를 통해 cell객체를 얻어오게 된다.
let cell: UITableViewCell = self.myTableView.dequeueReusableCell(withIdentifier: cellIdentifier, for: indexPath)다음 cell의 textLabel에 각 Item을 지정해 주는데 몇번째 item인지는 indexPath파라미터를 통해 몇번째인지 알아 낼 수 있다.
완성된 코드는 다음과 같다.
  func tableView(_ tableView: UITableView, cellForRowAt indexPath: IndexPath) -> UITableViewCell {
        let cell: UITableViewCell = self.myTableView.dequeueReusableCell(withIdentifier: cellIdentifier, for: indexPath)
        cell.textLabel?.text = myData[indexPath.row]
        return cell
    }
dequeueReusableCell은 재사용이 가능한 객체를 리턴함으로써 많은 Cell이 필요하더라도 화면에 보이는 만큼만 생성하여 재사용할 수 있게 해준다.(developer.apple.com/documentation/uikit/uitableview/1614891-dequeuereusablecell
7. 실행!
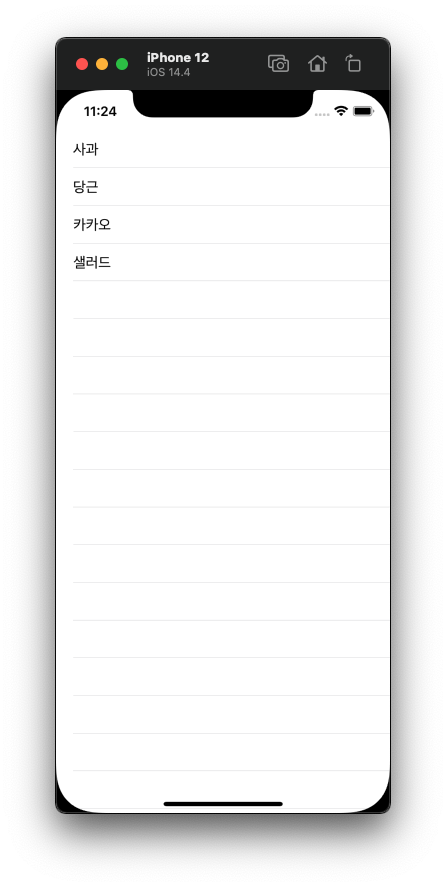
정상적으로 데이터가 출력 되는것을 볼 수 있다.
위 소스는 깃허브에 공유함
github.com/lucidmaj7/ios_study/tree/main/TableViewTutorial
lucidmaj7/ios_study
iOS Study( UIkit, swift, etc). Contribute to lucidmaj7/ios_study development by creating an account on GitHub.
github.com
참고
developer.apple.com/documentation/uikit/views_and_controls/table_views
'개발 > iOS' 카테고리의 다른 글
| iOS UIKit 튜토리얼 - UITableView - 3 // Section (0) | 2021.04.17 |
|---|---|
| iOS UIKit 튜토리얼 - UITableView - 2 / TableViewCell 커스텀하기 (0) | 2021.04.09 |
| SwiftUI에서 Admob광고 추가하기 (2) | 2019.12.27 |
| Swift 함수 2 - 함수형 프로그래밍? (0) | 2019.12.01 |
| Swift 상수, 변수 (0) | 2019.11.27 |


댓글