이번 포스팅은 정반사 쉐이더 구현에 대한 내용입니다. 정반사 쉐이더 모델에는 여러가지가 있는데 주로 게임에서 쓰이는 퐁 반사 모델(Phong model)에 대해서 공부해 보았습니다.
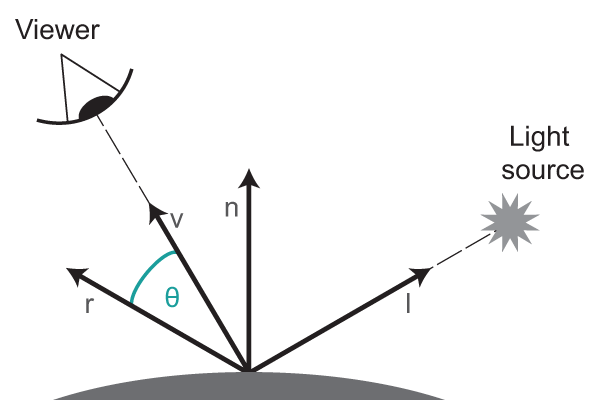
정반사 쉐이더의 핵심 원리는 바로 입사각과 반사각은 같다 라는 초등학교때 배운 내용입니다. 거기에 보는 사람의 각도에 따라서 정반사 광이 결정된다는 원리를 더 해보면 됩니다.
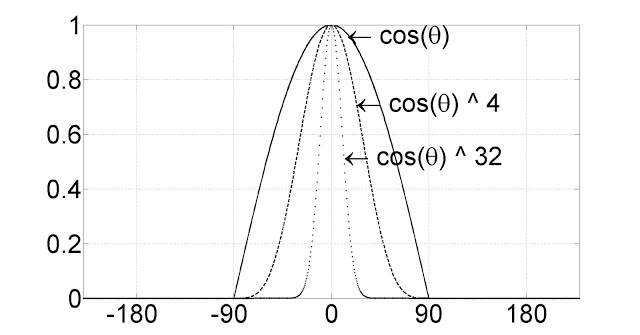
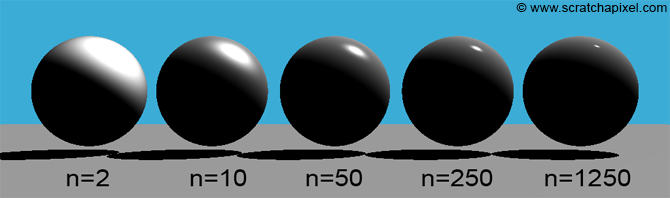
즉, 퐁 반사 모델을 정리해 보면 법선 벡터n에 대해 입사각l과 반사각 r은 같고 반사되는 빛의 양은 보는 사람의 각도와 반사광 r과 이루는 각도에 따라서 결정되는 모델입니다. 이때 cos 세타 값의 거듭제곱수 많큼 더 반짝거리는 정반사를 구현할 수 있습니다. (아래 그림처럼 n값이 커질수록 반사되는 영역이 타이트해집니다)
렌더몽키 설정
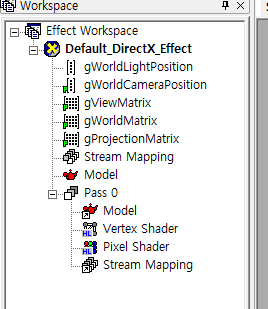
- gWorldLightPosition : 광원의 위치(500,500,-500)
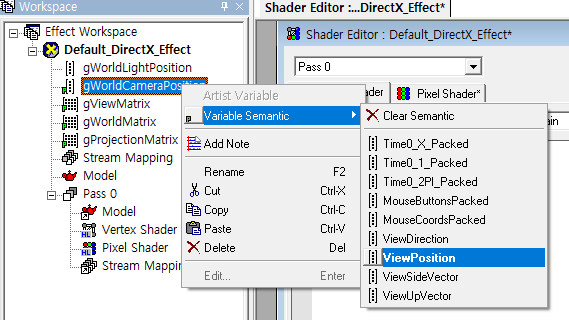
- gWorldCameraPosition: 카메라의 위치(ViewPosition 시멘틱 변수 설정)
- gViewMatrix: 뷰 행렬(시멘틱)
- gWorldMatrix: 월드 행렬(시멘틱)
- gProjectionMatrix: 투영행렬(시멘틱)
정점 쉐이더
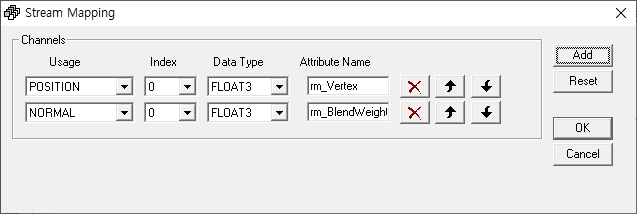
Stream Mapping에 Normal 을 추가해줍니다.
float4x4 gWorldMatrix;
float4x4 gViewMatrix;
float4x4 gProjectionMatrix;


float4 gWorldLightPosition;
float4 gWorldCameraPosition;


struct VS_INPUT
{
   float4 mPosition : POSITION;
   float3 mNormal: NORMAL;
};


struct VS_OUTPUT
{
   float4 mPosition : POSITION; //변환된 정점 위치
   float3 mDiffuse : TEXCOORD1; //디퓨즈 난반사
   float3 mViewDir: TEXCOORD2; //카메라 방향 벡터
   float3 mReflection: TEXCOORD3; //반사 벡터
};


VS_OUTPUT vs_main( VS_INPUT Input )
{
   VS_OUTPUT Output;


   Output.mPosition = mul( Input.mPosition, gWorldMatrix ); //정점 월드 변환


   float3 lightDir = Output.mPosition.xyz - gWorldLightPosition.xyz; // 입사광 벡터 구하기
   lightDir = normalize(lightDir); //입사광 벡터 노멀라이즈

   float3 viewDir = normalize(Output.mPosition.xyz - gWorldCameraPosition.xyz); //카메라 벡터 노멀라이즈
   Output.mViewDir = viewDir; //output에 전달

   Output.mPosition = mul( Output.mPosition, gViewMatrix ); // 정점 뷰 변환
   Output.mPosition = mul( Output.mPosition, gProjectionMatrix ); // 정점 투영 변환


   float3 worldNormal = mul( Input.mNormal, (float3x3)gWorldMatrix ); //노멀 벡터 월드 변환
   worldNormal = normalize(worldNormal); //노멀 벡터 노멀라이즈


   Output.mDiffuse = dot(-lightDir, worldNormal); //난반사
   Output.mReflection = reflect(lightDir, worldNormal); //반사벡터 구하기


   return Output; //출력
}
필셀 쉐이더
struct PS_INPUT
{
   float3 mDiffuse : TEXCOORD1;  //디퓨즈 난반사 양
   float3 mViewDir: TEXCOORD2;  // 카메라 벡터
   float3 mReflection: TEXCOORD3; // 반사광 벡터
};


float4 ps_main(PS_INPUT Input) : COLOR
{
   float3 diffuse = saturate(Input.mDiffuse);

   float3 reflection = normalize(Input.mReflection); // 반사광 벡터 노말라이즈
   float3 viewDir = normalize(Input.mViewDir); // 카메라 벡터 노멀라이즈
   float3 specular = 0; //반사광양 구하기
   if ( diffuse.x > 0 )
   {
      specular = saturate(dot(reflection, -viewDir ));
      specular = pow(specular, 20.0f); //거듭제곱
   }


   float3 ambient = float3(0.1f, 0.1f, 0.1f); //주변광

   return float4(ambient + diffuse + specular, 1); //출력
}
결과
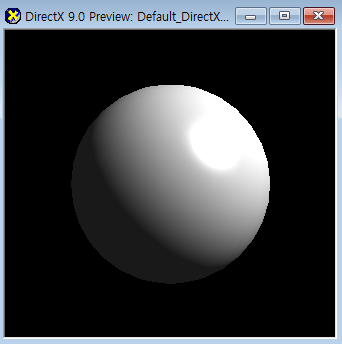
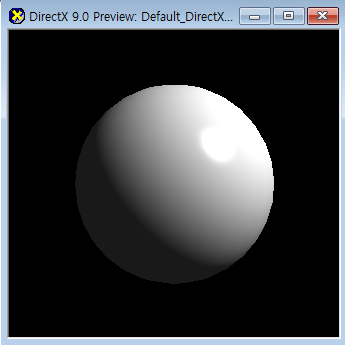
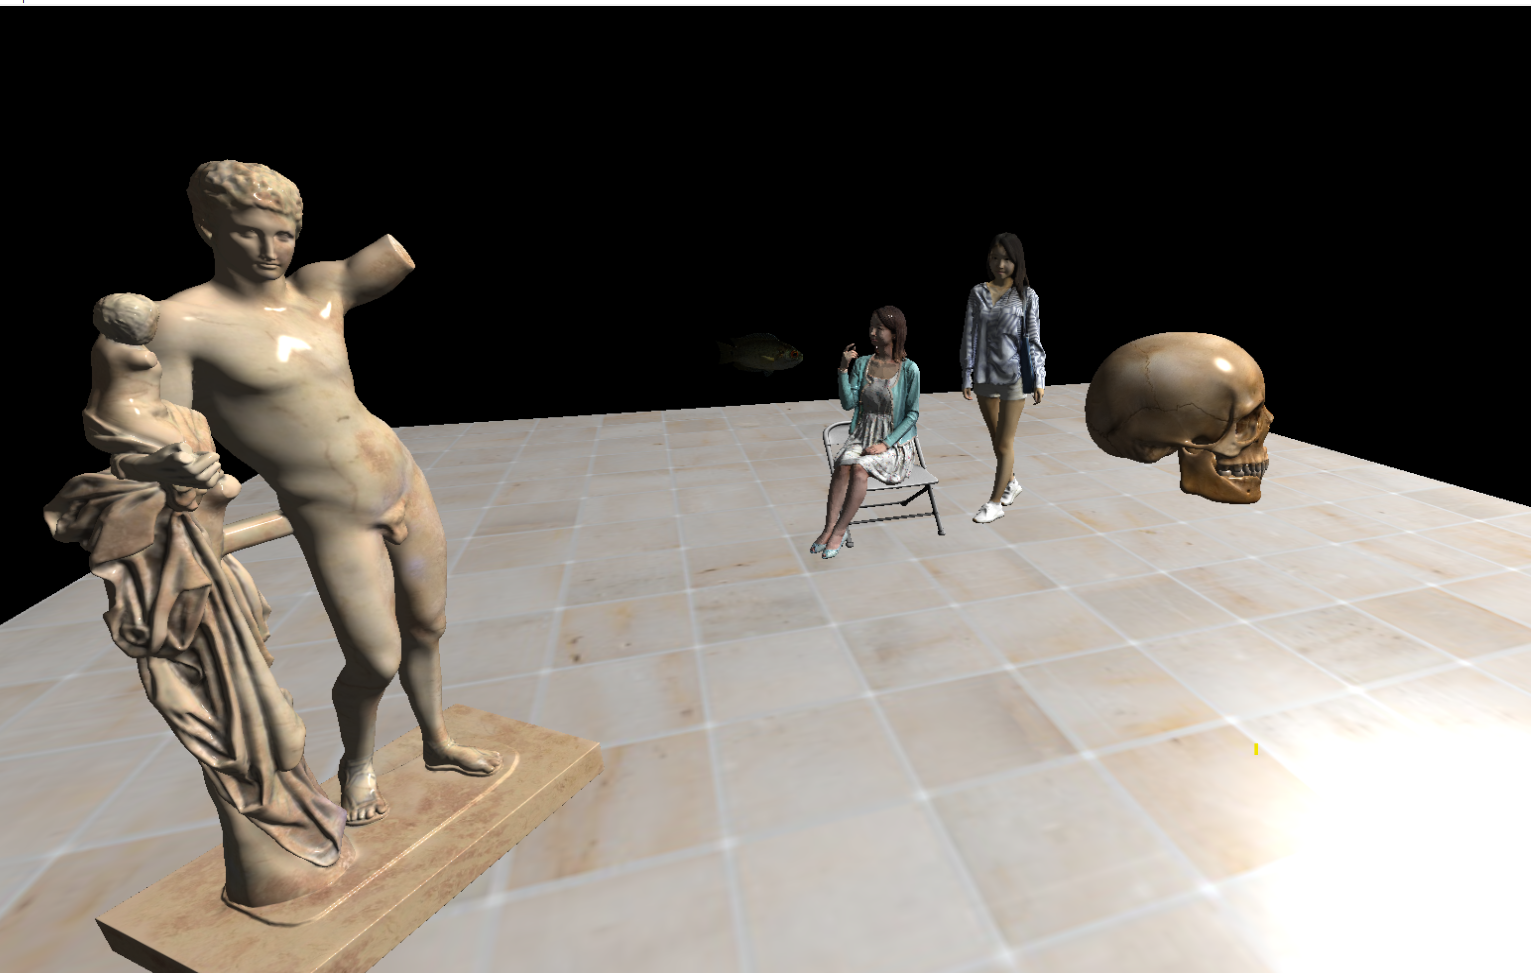
거듭제곱수가 많을 수록 정반사 영역이 타이트해지는 것을 볼 수 있습니다.
제가 구현하고 있는 Directx11 엔진에 정반사 쉐이더를 적용해 보았습니다.
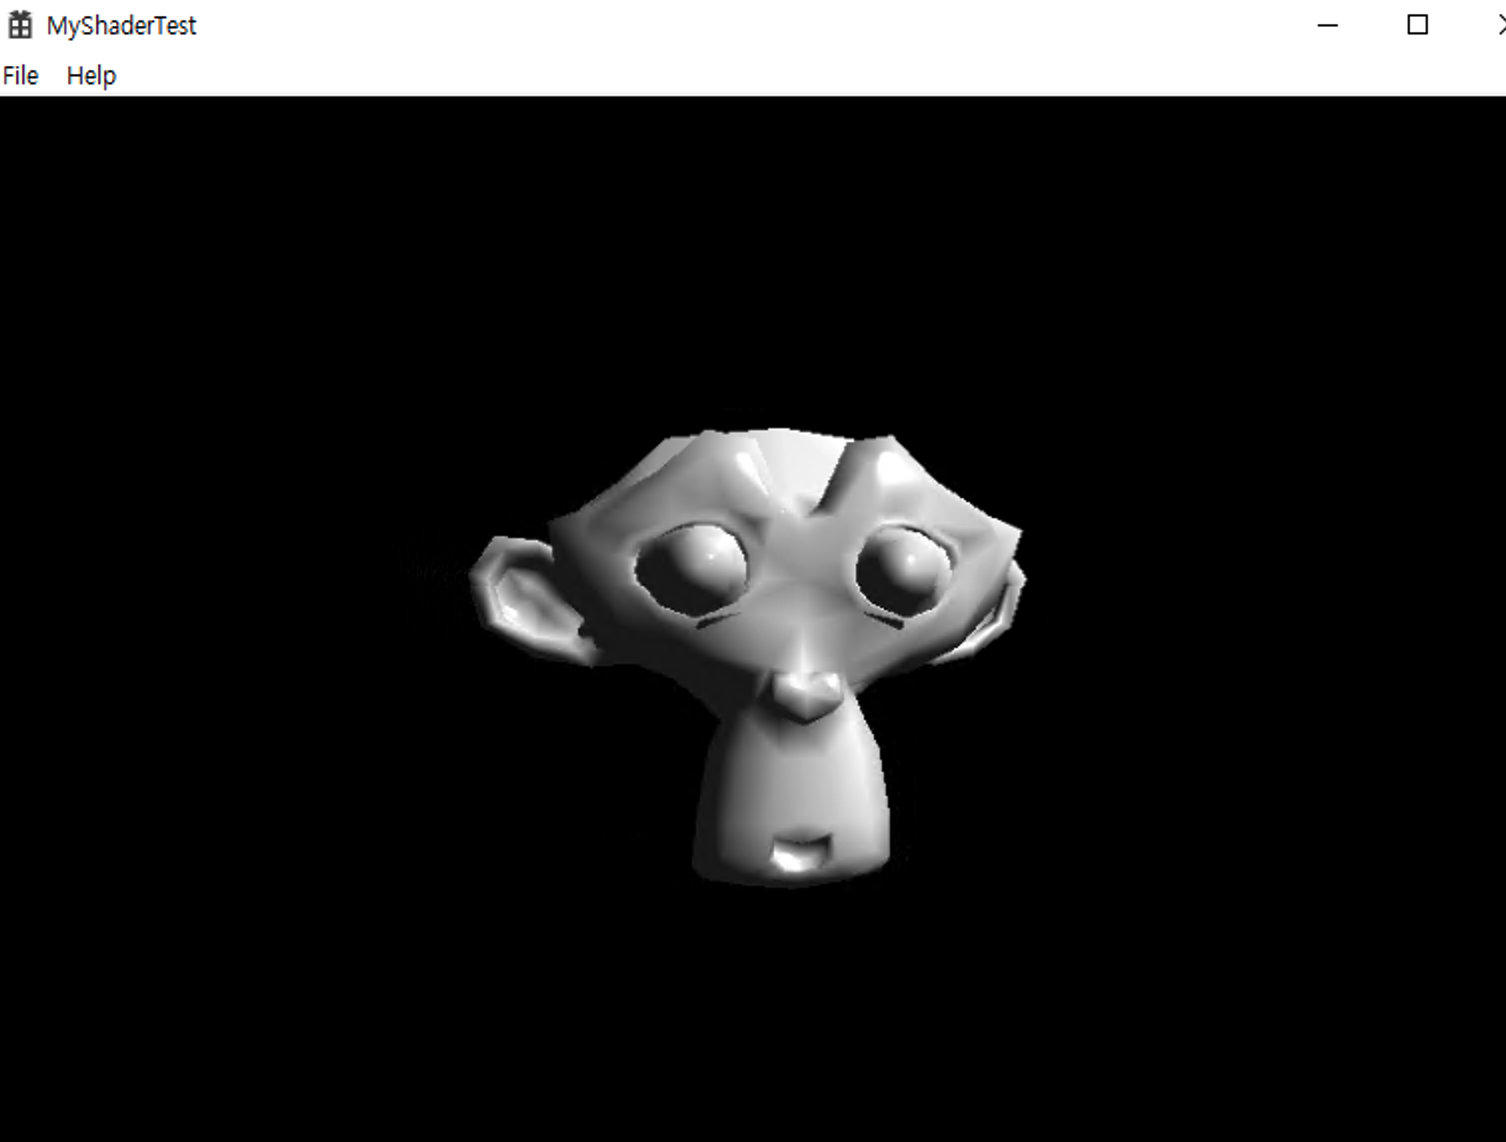
https://github.com/lucidmaj7/directx11test/tree/shader_phong/MyShaderTest
lucidmaj7/directx11test
directx11test. Contribute to lucidmaj7/directx11test development by creating an account on GitHub.
github.com
'ComputerGraphics > HLSL' 카테고리의 다른 글
| 쉐이더프로그래밍 / 툰(toon) 쉐이딩 (0) | 2020.06.24 |
|---|---|
| 쉐이더프로그래밍 / 디퓨즈 스페큘러 맵핑 (0) | 2020.06.24 |
| 난반사 HLSL (람베르트 반사) 쉐이더 / 렌더몽키(RenderMonkey) (0) | 2020.05.28 |
| 쉐이더프로그래밍 / 텍스처 맵핑 HLSL / 랜더몽키(RenderMonkey) (1) | 2020.05.25 |
| 쉐이더프로그래밍 / 빨강 쉐이더 만들기 (렌더몽키) (1) | 2020.05.16 |


댓글